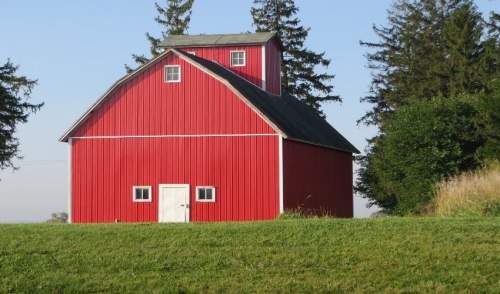
Tips on How to Build a Pole Barn
A pole barn is a structure essentially comprised of a roof that is suspended by a series of poles, which are sunk into the ground. It is an old, tried and true building concept that is still widely used today because of its simplicity, versatility and long-lasting nature. Building a pole barn is a good place to start for first-time builders because of the comparative ease of setup. Size is relative for pole barns. This could be a simple 10 x 12 shed, a small run-in for horses, or a structure for storing cars or farm machinery. Below, we’ll discuss some useful tips to keep in mind as you consider putting up one of your own.
Planning is important for any project, and it’s no different for pole barns. Just because they go up with relative ease doesn’t mean any shortcuts should be made during the planning stage. Before breaking ground, consider what your building will primarily be used for. In addition, consider what it may be used for in the future. What might be simple storage building now could be used for something completely different down the road. A workshop, a craft store, a new home for livestock—you get the idea. By planning ahead, you can have flexibility for the future. This includes whether or not to incorporate a cement slab for the floor, windows, power, or plumbing options.
Also, before breaking ground, ensure that you gather any necessary permits if need be. Many building authorities only require simple plans for approval. For additional information, contact your local agricultural extension. They’ll be able to point you in the right direction for what permits may be necessary, as well as offering building plans. Many of which are free.
Typical pole barn installation usually can be broken down into four steps: Prepare a level base, set the poles vertically into holes which are below the frost line, join them across the top with beams and braces, and lastly, place roof trusses on top. Complicated foundations are not necessary, and leveling is a snap as long as everything is plumb.
When creating a base for your pole barn’s floor surface, it’s recommended to add fill. The idea is to create a raised base area. This aids in leveling the floor and it avoids any problems with excess water during wet seasons. Crushed rock screenings (also known as stone dust), are an excellent choice for a raised base. Screenings are basically a byproduct at many quarries, which are generally less expensive than other types of aggregate. Screenings provide a solid base without the need to worry about the stone moving or shifting. Screenings are also very easy to rake and level.
If you decide to pour a concrete slab for your pole barn, make sure it is completely cured before building over top of it. This may take several days to cure, so make sure to plan for curing when coordinating the timing of your project.
Outside walls can be comprised of a host of materials –from rough-cut planks, to 4 x 8 sheathing, to metal. The beauty of a pole barn is that any interior walls you may decide to put in are not load-bearing, so layout is very customizable. It’s something to keep in mind as needs change for the future.


